
Ubuntu: skonfiguruj serwer DynDNS
Możesz skonfigurować serwer DynDNS w systemie Ubuntu, jeśli zawsze chcesz uzyskać dostęp do komputera z Internetu. Wszystko czego potrzebujesz to konto z dynamiczną usługą DNS i małym oprogramowaniem, które aktualizuje twoje IP za pomocą dynamicznego dostawcy DNS. Usługi serwerowe są już dostępne dla osób postronnych.
Skonfiguruj serwer DynDNS dla Ubuntu - wybierz dostawcę
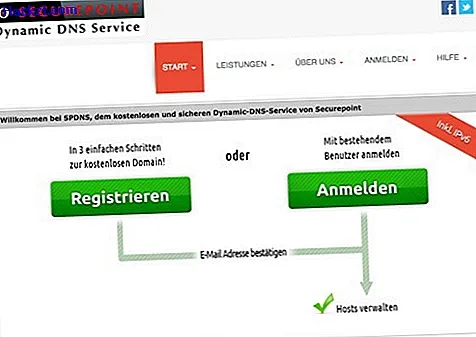
Najpierw wybierz dostawcę, który ma w programie dynamiczne usługi DNS. Oprócz najbardziej znanego, DynDNS, istnieje również szereg bezpłatnych dostawców. W naszym przeglądzie darmowych alternatyw DynDNS znajdziesz wielu dostawców.
- Utwórz konto u wybranego dostawcy.
- Zapisz dane dynamicznego klienta DNS. Sprawdź także, na którym serwerze możesz zalogować się później za pomocą programu klienta DNS i jakiego protokołu używa dostawca. Wielu dostawców oferuje własny program, który aktualizuje twoje konto i przekazuje adres IP komputera Ubuntu - ale większość z nich jest przeznaczona dla systemu Windows.
- Z nowym kontem, nazwą użytkownika, hasłem, protokołem i adresem serwera dla dynamicznego klienta DNS możesz teraz przejść do własnej sieci. Zanotuj adres, który sam wybrałeś zgodnie ze schematem „meineadresse.dyndns.org”.
Skonfiguruj router i zainstaluj ddclient
Aby wewnętrzny adres IP w sieci domowej nie zmieniał się stale, najlepiej zarezerwować stały adres IP z serwerem DHCP w routerze. Następnie możesz przekazać odpowiednie porty do Ubuntu. Teraz potrzebujesz tylko programu ddclient, a Twój komputer Ubuntu jest dostępny z zewnątrz:
- Zaloguj się do routera i zarezerwuj stały adres IP komputera Ubuntu na serwerze DHCP. W tym przewodniku dowiesz się, jak się tam dostać. Często wystarczy wpisać ręczne IP w ustawieniach systemu w „Sieci”.
- Teraz poszukaj menu przekierowania portów lub „Przekierowania portów” w routerze. W zależności od usług, które będą później używane z komputerem Ubuntu z zewnątrz, należy przekazać odpowiednie porty. HTTP używa na przykład portu 80, portu FTP 20 i portu SSH 22.
- Teraz skonfigurowałeś router, teraz zainstaluj dynamicznego klienta DNS. Otwórz terminal w Ubuntu i wpisz następującą komendę:> sudo apt-get install ddclient <. Potwierdź polecenie za pomocą hasła i postępuj zgodnie z instrukcjami.
- Zostaniesz teraz zapytany, który dostawca dynamicznego DNS wybrałeś. Jeśli nie możesz znaleźć swojego dostawcy na liście, wybierz „inne” i uzyskaj dane logowania, protokół i adres serwera swojego dostawcy.
- Gdy pojawi się pytanie o dynamiczny serwer DNS, wprowadź adres (na przykład „Members.dyndns.org”). Następnie ustaw protokół (na przykład „dyndns2”) i dane logowania.
- Jako interfejs sieciowy wybierz eth0 dla sieci kablowej lub wlan0 dla połączenia radiowego. Nazwa domeny jest następnie proszona, tj. Adres, pod którym będziesz później dostępny z zewnątrz. Wpisz to całkowicie.
- Już prawie koniec: ddclient jest teraz skonfigurowany i można go uruchomić ręcznie za pomocą polecenia> sudo service ddclient start <. Możesz być teraz dostępny z Internetu. Nie martw się o bezpieczeństwo i wyłącz wszystkie usługi i porty, do których niekoniecznie musisz dotrzeć z zewnątrz.

Jeśli nigdy wcześniej nie korzystałeś z routera, przeczytaj tę praktyczną wskazówkę dotyczącą konfiguracji routera.